Covering cups is actually quite simple, but it does require hand stitching skills.
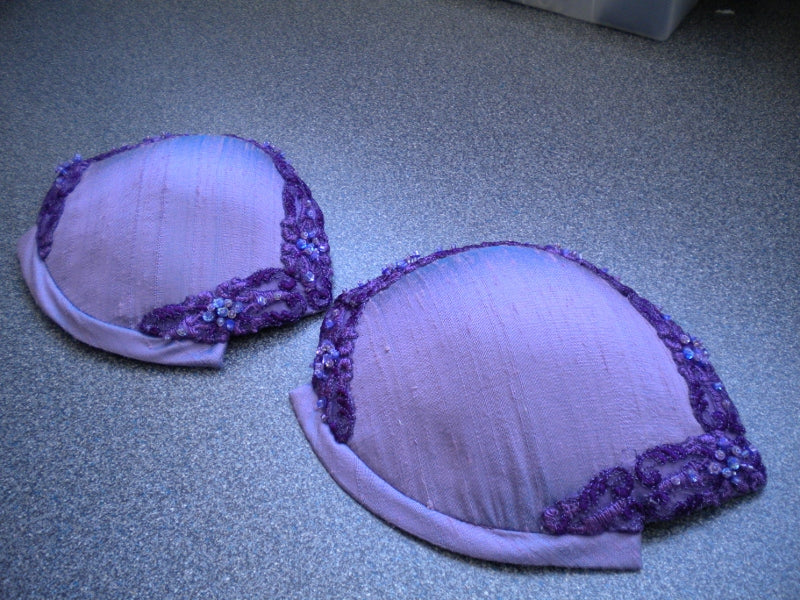
The first sample outlined here is the covering of lemon shaped cups. The second sample that will be outlined will be the igloo shaped cups.
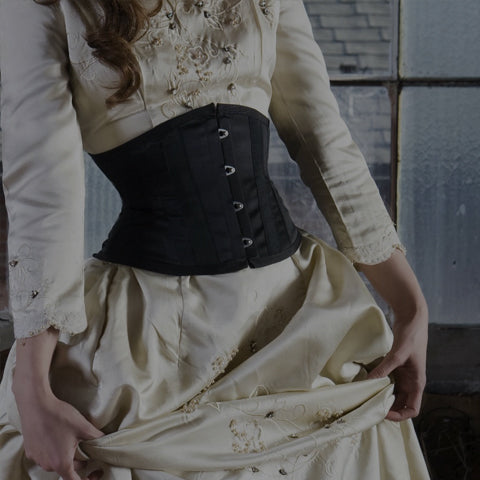
If you're using a corset you may want to put the corset on a mannequin/dress form and position the cup in place. If the cup is designed to used in bra making you may need to trim a bit off. Notice the line that's been drawn on the cup to indicate where we will trim.


- The fashion fabric needs to be cut into 8 inch wide bias strips. The fabric must be cut on the bias as this is the only way it will fit over the curves of the cup without requiring a lot of pleating.
- Lay the cup on the bias strips, draw along the edges on the fabric. Include a notch mark anywhere along the top and bottom edges. Leave the bottom edge. The notch marks should appear on both the cup and on the fabric.


3. Add seam allowance to the drawn lines on the fabric ½" to ¾" should be the width of the seam allowance so that it can roll over the top and bottom edges and be stitched in place.
4. Cut the fabric out along the cut lines – this will only be along the top edge DO NOT CUT the bottom edge.

5. Pin the fabric back onto the cups, matching the notch marks and rolling the seam allowance to the wrong side of the cups and spinning in place. This will require a lot of pins.Trim the excess from the bottom edge after it's been pinned in place.

6. Hand stitch the fabric to the cups from the wrong side so that you are stitching the seam allowance to the inside of the cups. No stitches should be obvious from the outside of the cups.

7. You may wish to add up bias trap along the bottom of the cops so that they could be attached to a corset. If so, pin the corsets to a dress form and mark with pins where the bias tram should go. It's easiest to determine us if you have already built the corset because the corset will get put on the dress form and the placement of the bias strip will be obvious. You can use a 2 inch wide bias strip for this and it may need to be interfaced, the link will be determined by how much is required for it to meet the corset.

8. If you want to decorate the cups do it now before lining them. Hand sew trim onto the cups, you can stitch right through the foam but if you do don't pull the threads too tight or you'll get indents in the foam.

9.To line thecup cut a six-inch wide bias strip of lining fabric, or you can use six-inch wide strip of bias fashion fabric so that the inside matches the outside. Or you can use lining as we've done for this sample.
10. Place this strip into the concave part of the cup or the inside of the cup. Do not pull the fabric tight, but allow the fabric to follow the concave curve of the cup. Pin it into place.

11. Draw a line on the lining fabric along the edges of the cup. This will be your cut line for the lining.
12. Remove the pins the fabric from the cups, lay the fabric flat and cut the lining fabric out along the lines you drew
13. Replace the lining fabric into the cups pinning in the center of the cups.
14. Turn the raw edges under and pin the lining in place. The folded edge of the lining will be within the inside of the cup not along the edge of the cup. You may need to create a pleat in the lining in order for the lining to fit within the cup.

15. Hand stitch the lining into place along the folded edges.

16. When the cups are complete put them back on the dress form. Put the corset on the dress form and make sure that the cups line up with the corset correctly. You can then either hand stitch the cups to the corset stitching through the binding of the corset in the bias strips of the cups or you can mark both for snaps. The male snaps would get sewn into the bias trim along the bottom of cups and the female part of the snap would get so on along the bias binding of the corset.


Leave a comment
All comments are moderated before being published.
This site is protected by hCaptcha and the hCaptcha Privacy Policy and Terms of Service apply.