I know you want to get all the bits at one time but I always recommend starting with a pattern and some German Plastic boning and that's it. Or get one of the "software kits" that contain all the fabric bits but no "hardware" bits like bones.
Why?
Because you need to get a better understanding of the corset making process and you need to fit a mock-up (test garment) before you order bones in specific lengths.
Why?
Because a corset needs to fit in order to be comfortable and almost no one will fit a corset pattern, without having to do some alterations. The length of the busk and bones is crucial to comfort and the length of our body has no relation to our circumference. So, until you make your mock-up you have no way to know what length bones and busk you personally need. You will determine these lengths once the corset is altered. Use the German Plastic boning in the mock-up. This product is easy to use - just cut with scissors. Metal boning requires special tools.
No pattern can just be sewn and fit perfectly – this is even more true when making a corset. Length is crucial to comfort and just because we get larger in circumference does not mean we get longer. Patterns are graded to standards, so they do tend to get longer as they get bigger…even if people don’t. This means the bone lengths based on the chart may not be the right length for you. You may need to cut them. I never recommend buying the bones until a mock-up has been fit and adjusted – so that you can determine the length that you personally need (it’s why I don’t have bone and busk kits).
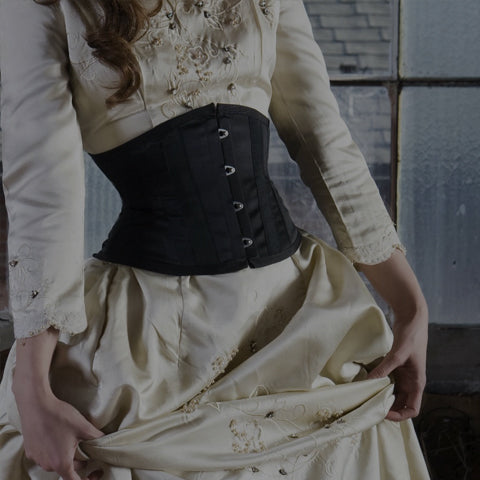
Busks and bones need to be flexible, especially for a Victorian corset – which enhances curves, unlike Elizabethan stays that minimize curves. The spoon busk is more rigid than the basic busk. The wide busk is the most rigid, but will not follow the curve to shape nicely over the bust.
There is a lot of fitting involved in your first corset. If you are a larger size you may want more bones than the pattern calls for and you may want wider bones. You can order wider spiral bones in prefinished lengths – they offer support and flexibility as well as comfort and support. If you prefer you can order the wide spiral in a continuous coil and the “U” tips by the gross and cut the bones to the length you personally need. Ten meters will give you more bones than the pattern calls for and more bones offer more support.
Coutil – the herringbone coutil is the strongest and most rigid. If you are new to corset making you may find it difficult to work with, but it is favorite of theatres, and opera companies and is really durable. You don't need it for your mock-up, but if you do use it - include 1" seam allowance on all pieces to allow for alteration. Want a super strong corset - I strongly suggest you use two layers of coutil. Some corset patterns call for two layers of fabric and two layers of coutil are incredibly strong. Using two layers of coutil means you likely will not need the bone casing tape as the bone casings can be made by sewing parallel lines through the 2 layers of coutil.
Lacing tape is typically listed on any corset pattern, but it's easy to apply and means you won't need to set grommets. This is great if you don't yet have a grommet setting tool. Petersham is used to bind the top and bottom edges and can be used as a waist stay.
But before you get overwhelmed - just start with a pattern and some German Plastic bones. Consider lacing tape; you can sew it onto your mock-up so that you can lace the mock-up up and test the fit more accurately. You may want some "corset fabric" (not coutil) for your mock-up. DO NOT use muslin - it will stretch and your final corset will end up being too small.
In a "nut shell":
- corset pattern
- German Plastic Boning -7mm wide(average) 11mm or 13mm wide for larger bodies (10 meters)
- Lacing tape (1 meter)
- Corset fabric (1 meter)


Leave a comment
All comments are moderated before being published.
This site is protected by hCaptcha and the hCaptcha Privacy Policy and Terms of Service apply.