

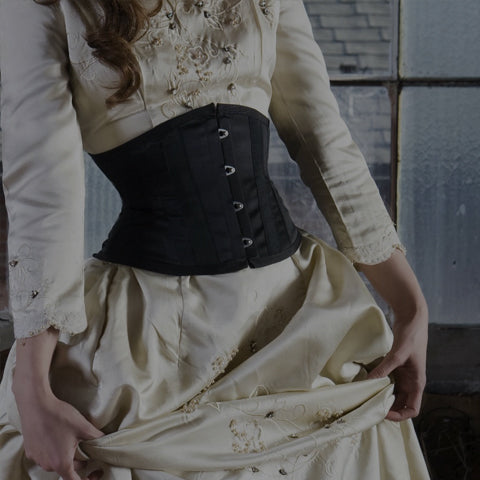
Piping cord can be used to bind the top and bottom edges of a corset or bodice. Piping cord not only creates an attractive finish it allows you to shape the edges it is applied to.
Simply pull the inner cord slightly and it will pull in the edge, anchor the cord in place and finish the ends.
To make piping cord you need to cut a strip of bias wide enough to wrap around the cord and still allow 5/8” of seam allowance. You may have to piece the bias tape together to get it long enough for your needs, but this is often not necessary for corset edges as they are not very long.

Wrap the bias tape around the cord with wrong sides together. Use a zipper foot to sew close to the cord but do not catch the cord in the stitching. Stitch from one end to the other, back stitching at both ends.

Your piping cord is complete. DO NOT trim the seam allowance!

To apply the piping cord to your garment lay it on the right side of the garment lining up the raw edges of the bias tape with the raw edges of the garment. Pin into place, following all curves, leaving ½” or so extending over each end. Machine stitch the piping along the original stitch line. Flip the piping up to form the new edge of the garment, the seam allowances will fold to the wrong side of the garment. Hand stitch the seam allowances down to the lining of the garment. Fold the ends back and hand finish.
Make covered cording, and your lacing cord can match
Leave a comment
All comments are moderated before being published.
This site is protected by hCaptcha and the hCaptcha Privacy Policy and Terms of Service apply.