We made this bum roll to be worn with the Mantua Maker Spanish Farthingale. This bum roll is a small one and is worn under the farthingale, some research indicates bum rolls worn over the farthingale but we found that under worked better. To make a bum roll pattern you need paper to draft your pattern – a piece of a newspaper is fine. The bum roll rests on your "high hip", not on your waist.
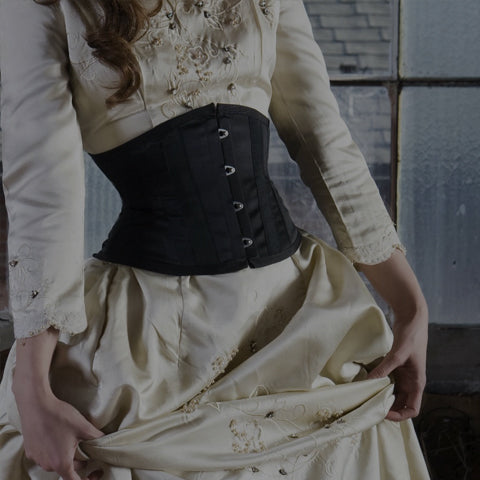
First, put on your corset.
Measure your upper hip from the hip bone that is to the front of your body around the back to the other hip bone that is on the front side of your body. Wearing the corset helps determine this measurement as it guarantees that your bum roll will not go too far to the front - the bum roll ties will be under the front of the corset but the "horns" of the bumroll should end before it reaches the front of the corset. You want the front to be fairly flat. Mark on your measurement where your body curves.
 |
|
To create the bum roll pattern start with a vertical line to indicate the center back. Ours is 10cm (4") long.
Start with the inside curve – the curve that will be against your body, use the measurements as a guide to the placement of your curve. Keep in mind the bum roll will be pliable so the exact curve is not needed. Now draw in the outer curve. I have no formula for this – just do what looks right.
 |
 |
Cut the pattern out of the paper and try it on you body, if it is way off you will at least see where you need to make changes. If it is a fairly good fit then you are ready to cut your fabric. Remember this pattern does NOT have seam allowances yet! You can trace the pattern onto another piece of paper and add seam allowance or you can trace the pattern directly onto your fabric and add seam allowance to the fabric copy before cutting it out.
Cut 8 pieces; four on the straight grain and four on the bias.
|
Cut 4 on straight grain (horn is on bias) |
Cut 4 on bias (horn is on straight) |
The bum roll will have two layers; one layer will be on the straight grain and one layer will be on the bias. This is important as the curve of the "horns" will be on the bias when the center back is on the straight grain and this would mean stretching would occur. When you also have a layer; the center back of which is on the bias then you get the curves of the "horns" on the straight grain and stretch is limited.
Stitch your two layers together so that they will be treated as one.
1. Stitch the center backs with two rows of stitching, straight grain pieces to straight grain pieces and bias cut pieces to bias cut pieces.

2. Press the seams open. Baste a bias cut set to a straight cut set. Line them up with wrong side of straight cut layer against right side of bias cut pieces.One bias cut layer is placed over the straight cut layer. The straight cut set is the outer layer.
3. Stich all 4 layers together with two rows of stitching, leaving an area of about 6 inches open at the centre back of the inner curve. You nreed to be able to fit your hand into the opening to stuff the bumroll. Be sure to back stitch on either side of the opening.Clip and notch the curves.

4. Trim the seam allowances at "horn" tips and turn the bumroll right side out.
5. Stuff the bumroll tightly with fiber fill, working it down into each horn.
6. Hand stitch the opening at center back shut.

7. Hand stitch ties to the tips of each horn, stitch securely.
That's it!
Our bum roll used about ½ a meter of 54" wide fabric, you can use scrap, and we used narrow twill tape for the ties; 1 meter cut in half – one half for either "horn" tip. I have no idea how much stuffing was used. This is basically all made out of scrap or left over bits from other projects.


Leave a comment
All comments are moderated before being published.
This site is protected by hCaptcha and the hCaptcha Privacy Policy and Terms of Service apply.