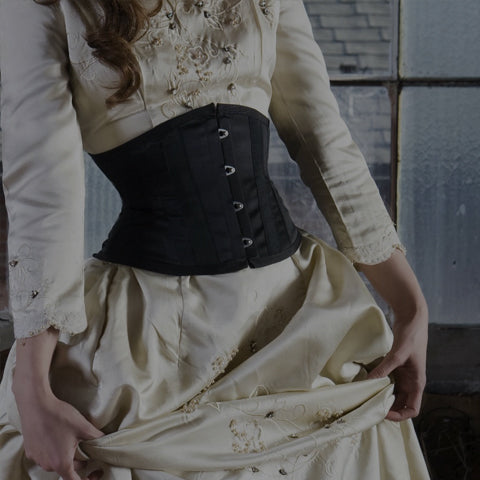
Spanish Farthingale 1480-1600
Pattern #00-PATTERN-46 By The Mantua Maker

Cut out the paper pattern pieces and tape them together as directed in the instructions. The instructions call for 5 1/2yds at 45” wide but we used 60” wide muslin #26-1594-05 and it only took 2.5m (2.7yds) but I am only 5’2”. So you may want to have more than 2.5m just to be sure you have enough. There are custom fitting notes in the pattern so it is not a “one size fits all”.
The pattern states that: “The farthingale was worn over a shift, a bumroll and an underskirt” but no bum roll is included in the pattern. So we made our own – details can be found on the "How to Make a Bum Roll"
There is the option of a center back opening or two side openings and we chose the two side openings. These opening are to be bound with bias tape but we chose to cut bias strips of muslin so our bindings would match the farthingale. This step can be tricky for the novice seamstress.
 |
This photo shows the binding of the left hand opening. While the pattern suggests the possibility of attaching the waistband after the hoops are in we do not recommend this. The hoops make it very difficult to manipulate the fabric under the sewing machine. You may want to baste the waistband into place and then slide your hoops into the casing – test the length and that the bottom hoop is parallel to the floor, then remove the hoopsand make any adjustments and permanently attach the waistband. |
 |
Interface the waistband. We used a medium weight sew in interfacing on one half of the waistband only. |
 |
Fold the waistband in half to find your center back and center front, mark these clearly – you will need to know where the CB and CF are to attach the waistband accurately. |
 |
Gather the back panel to fit the back waistband. Pin the front panel to the front waistband and the back panel to the back waistband. The pattern also offers instructions for a drawstring rather than a waistband but we do not recommend a draw string on any hoop garment. A waistband keeps a nice flat finish at the waist which is more comfortable under a corset and the weight of the hoops pulling on a draw string waist is less secure. To accommodate various sizes we made the waist band as suggested but added long ties to each end. The Spanish Farthingale before the hoops… seems long but the hoop casings are made by pleating the farthingale so the length gets taken up. Working out the pleats/tucks for the hoops is the hard part we decided on only 7 hoops since at 5’2” I am not tall so the skirt is not long. Seven hoops is reasonable I would not likely consider any less. The seven hoops took a total of 15m (16.5yds) of hoop steel #50-8405-10 this is a spring steel and while it will support the circular shape it is flexible and allows you to walk through narrow doorways, sit down and even ride in a car – though this is not recommended. |
 |
|
 |
Pleats/tucks need to be wide enough to accommodate the hoops steel and the connectors. Instructions for rope hoops are included in the pattern as well as instructions for steel. We chose steel as it works best for theatrical and long wear purposes and it’s less labor intense. The photo at left illustrates a sewn tuck and a pinned tuck before hoops are added. |
 |
There is an interfaced facing on the hem to limit wear problems and it can be seen below. The bottom hoop pleat has been pinned and once sewn the facing will be flipped to the inside of the farthingale and machine stitched into place. |
IN the photos above, notice how the length has been taken up with the pleats/tucks that encase the hoops.


Leave a comment
All comments are moderated before being published.
This site is protected by hCaptcha and the hCaptcha Privacy Policy and Terms of Service apply.