

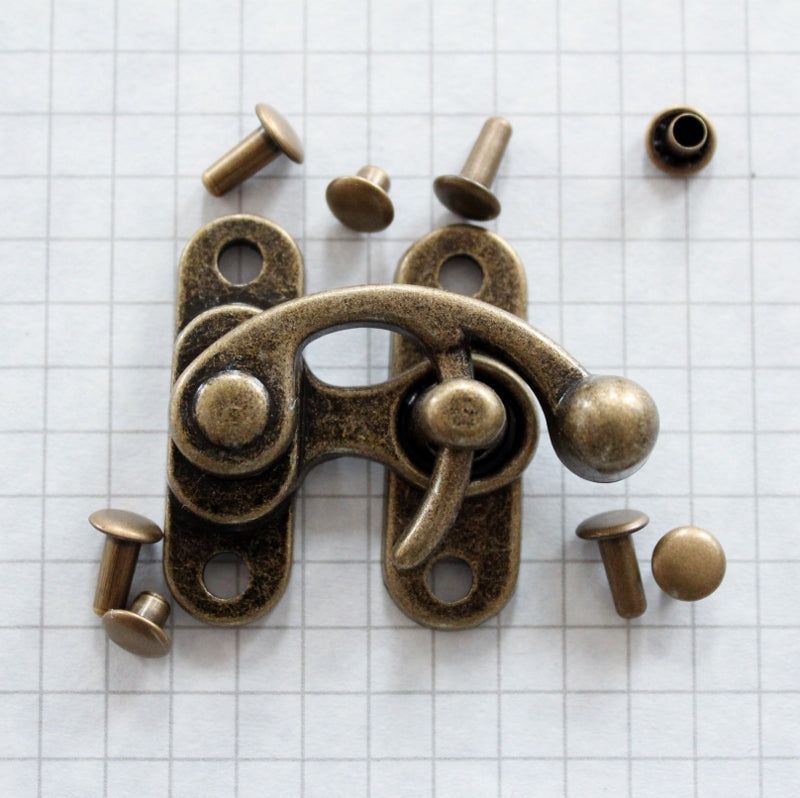
First of all..."What is a corset swing hook?"
A swing hook consists of two pieces; one piece is a simple plate with a small post in the center and two holes on either end – this is the left hand side.
The other piece is a similarly shaped plate with similarly placed holes and a tongue that fits over the post of the other piece to connect the two pieces. This piece also has a swinging hook which slides through the post on the other piece to secure the two pieces together.
Secondly it's important to realize that there is always more than one way to do anything. This method is relatively easy and requires a minimum of tools. You will need: a hole punch, a rivet setter and a mallet (rubber, rawhide or wood - not a steel hammer).- you need to adjust the pattern piece of the corset front to use this method of corset swing hook application. The dashed line in the image below indicates the Center Front line (CF). The solid line indicates the original cut line that would have created a 5/8" (16mm) seam allowance. I need a larger seam allowance and have added an extra 3/4" (19mm). NOTE: I usually cut four fronts for my corsets - 2 will be the fronts and 2 will be the facings, so I've added this amount to all pieces.

- Sew along the dashed line (CF) with "right sides" of corset front and facing together, creating the CF seam. Do this for both fronts.
- Press the stitched line and then press the seam open - don't skip this step, pressing is important.


- Draw a line onto the
seam allowance of the front facin g, 5/8" (16mm) from the seam. Sew along this line to secure the seam allowance to the facing. This will create a bone casing for a 1/2" (11mm) wide steel bone (the size I am using). Do this to both fronts. Make sure you only do this to the facing pieces. 

-
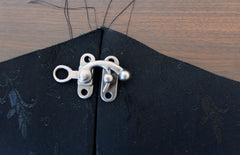
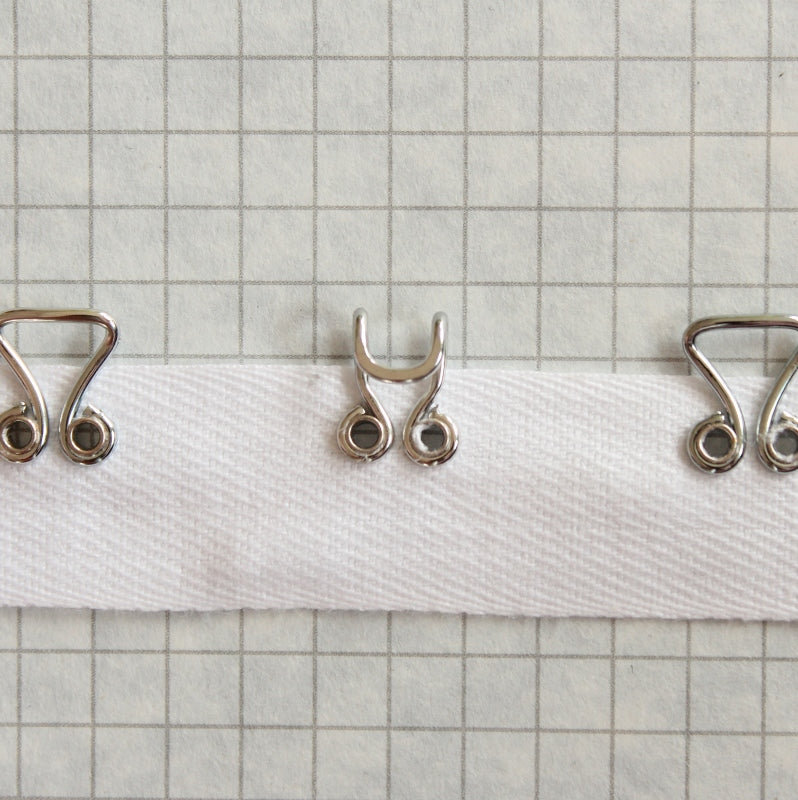
Press the CF seams closed ( the "wrong side" of the facing will be against the "wrong side" of the front) and place the corset swing hooks along the CF to determine placement. Mark the placement with pins for now. Make sure that the "tongue loop" is extending beyond the CF, as it would if it were looping over the post. NOTE: the top one in the image is INCORRECT. The placement is important. For economy I've used the smaller swing hooks and only 3 of them on this sample, but I would want them closer together if I were going to wear this and would likely use 4 or 5. 
- Place the two fronts together on a flat surface, line them up so top and bottom edges match then place both sides of the swing hook in position. NOTICE that the swing hook base "plates" are not right on the CF edge.
- Look closely as the hook side of the swing hook and you'll see a curved bit.

- Mark the placement of the hook side by drawing a line along the edge of the swing hook where this curved bit touches the fabric.


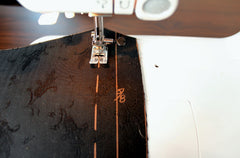
- Use a see through ruler and determine the distance between the CF that this line. Do not draw a line the whole length as it will be seen later but adjust your sewing machine needle so that you can sew along the edge of the CF where this line should be. Open the seam up and sew through the corset front and facing along this line. For this corset swing hook it was 1/8" from the seam and I was able to adjust the needle placement on my machine to accomplish this. Don't sew through all layers as this may diminish the size of the bone casing you made in the facing, making it difficult to get the bone in later. NOTICE the needle placement in the image below. Do this to both fronts


- Place the hook side of the swing hooks in place on the corset front with the edge lined up along the stitch line. Confirm the placement; mark the holes of the swing hook base plate onto the fabric (I used a gold Sharpie so it would show up on my black fabric). Cut a piece of German Plastic boning ( I used 50-8125-11) to the correct length (about 1" or 2.5 cm shorter than the corset front) and shape the ends if necessary. If the cut ends of the plastic bones are a bit rough rub them against a rasp or even an "emery" board. NOTE: you can sew through the product so if you don't cut them accurately it's not a problem. Mark the placement of the swing hook holes on the bones. Using a hole punch; punch holes in the bones and in the fabric. I used a larger hole for the bones (#4 on my rotating hole punch) and a smaller hole for the fabric (#3). You are only punch a hole through the front and the front facing!


- Slide the bone between the front and front seam allowance. Align the holes and if you shaped the bone make sure it is orientated correctly with the top and bottom edges.

- Take a rivet (the part with a longer post) and push it through one hole of the swing hook base plate, the fabric, the bone and the seam allowance. Push a rivet cap onto the end of the rivet post. In this image I've not pushed the post through the seam allowance as it was harder to see what was happening.

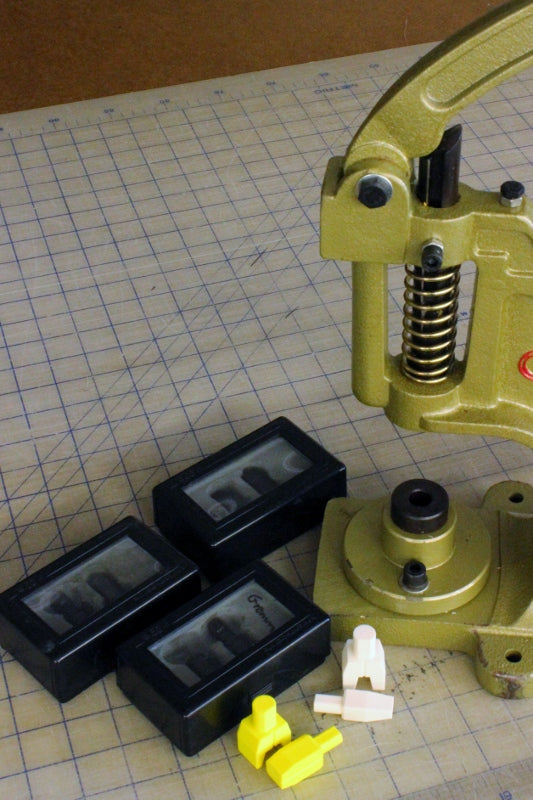
- Using a rivet setter and mallet - set the rivets.

- Repeat for all swing hook pieces.
- Pivot the swing hook so that it is across the CF and using a zipper foot sew through all layers of the corset front, close to the bone.

- Slide the steel bone into it's casing. I've show it here before securing all layer together so you can see where it goes, BUT...place the bone in the casing after sewing to reduce risk of the needle hitting the steel bone.
 The plastic bone secures the rivets holding the corset swing hook which saves the need to drill the steel bone. The steel bone keeps the CF straight. I find the rivets seem a bit long even when put through two layers of coutil, the corset swing hook and the bone but if you use more layers of fabric than I have they are likely just right.


 The plastic bone secures the rivets holding the corset swing hook which saves the need to drill the steel bone. The steel bone keeps the CF straight. I find the rivets seem a bit long even when put through two layers of coutil, the corset swing hook and the bone but if you use more layers of fabric than I have they are likely just right.
You can find corset swing hooks on the Farthingales buckles page in the Notions and Findings sections. Or click here
Leave a comment
All comments are moderated before being published.
This site is protected by hCaptcha and the hCaptcha Privacy Policy and Terms of Service apply.